
Styling 101: A still life 'masterclass'
A moving meditation? A puzzle? My best tip for making and photographing a still life -Stop Making Sense!

My collections- ingredients for still life play
There’s something deeply satisfying about making a still life. When I feel restless or blocked, or bored, it’s the thing that I do that changes my mood. I always learn from this creative problem- solving. Think of it as a moving meditation, a puzzle to be arranged and rearranged in endless configurations. The trick is to allow yourself to play, to turn things upside down or back to front, to stop making sense.
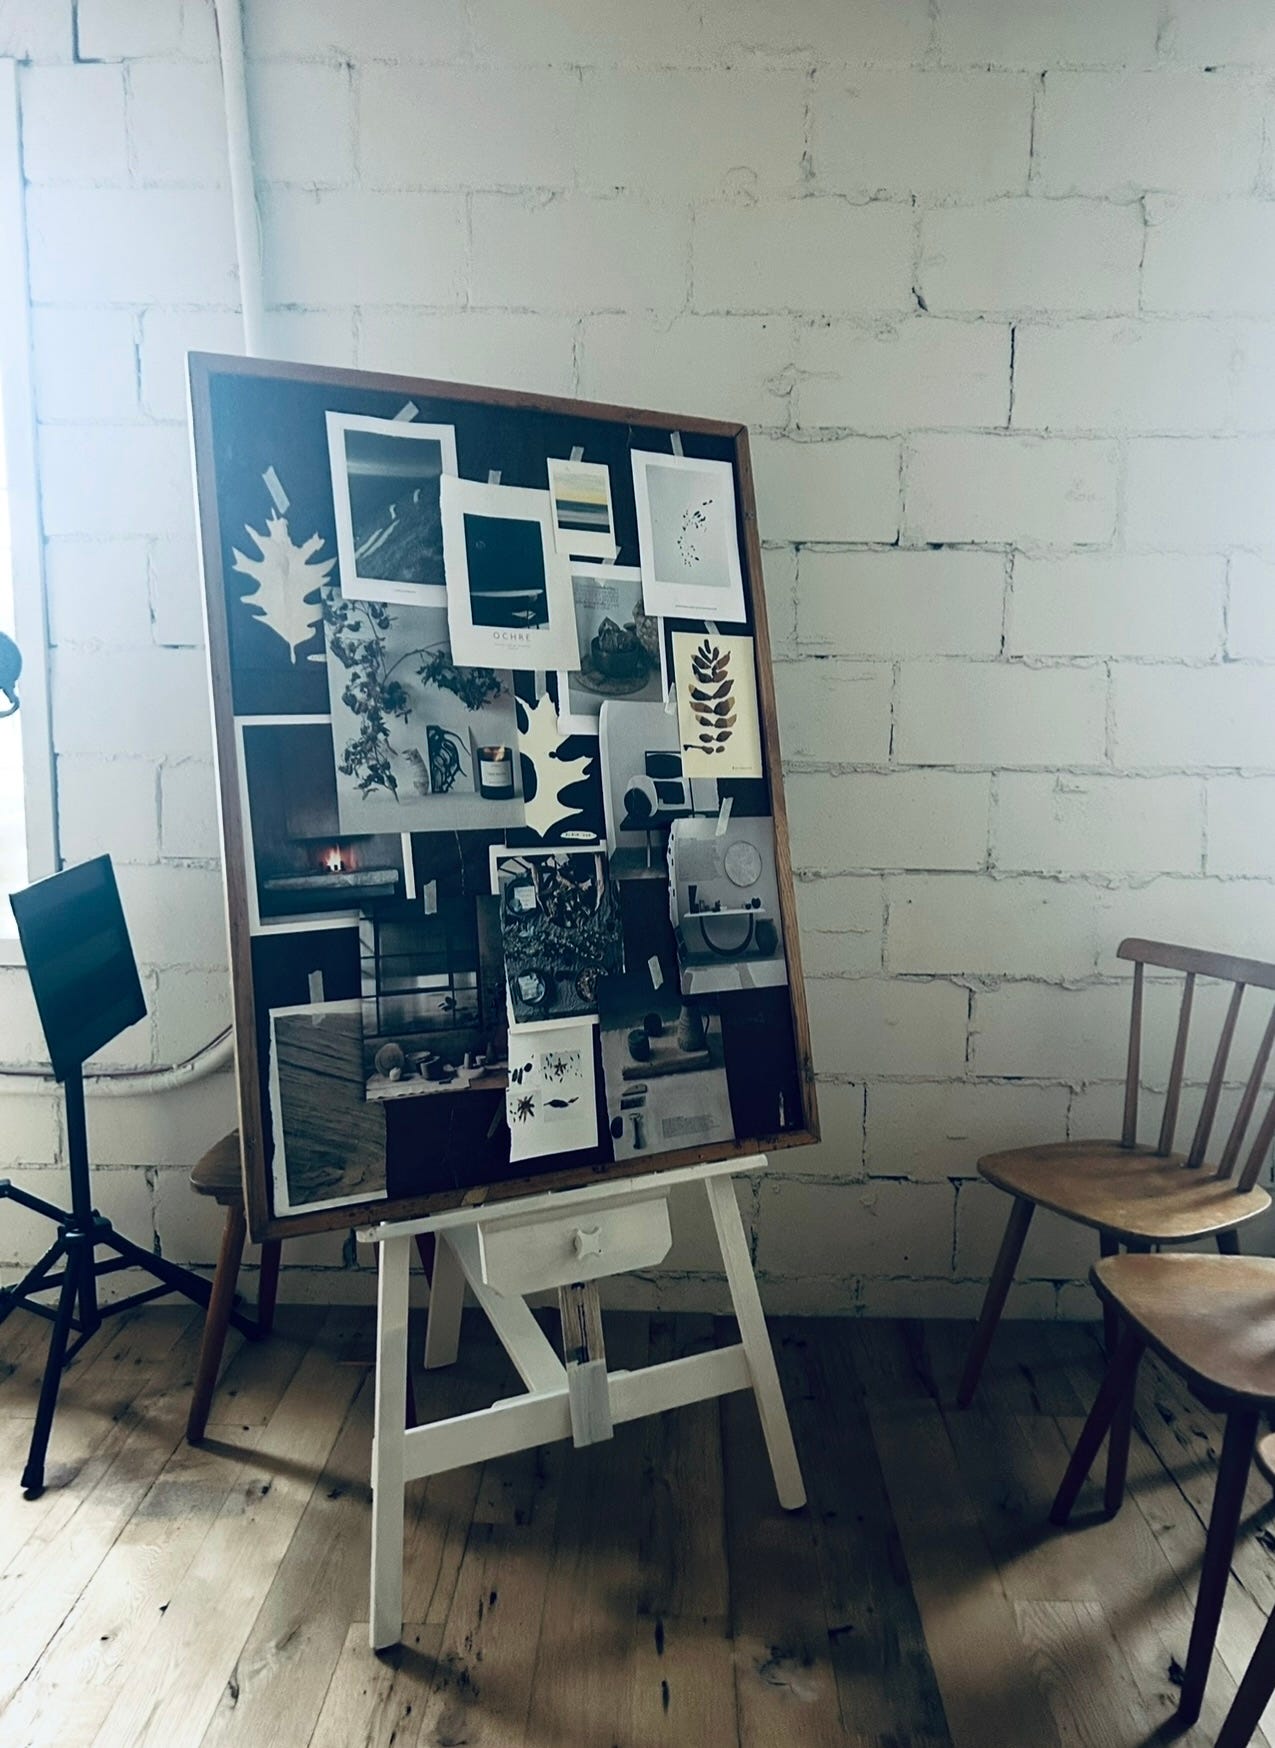
Leanne Ford let me loose in the incubator space above her new shared store (Buck Mason in her hometown, Sewickley, PA). Full of all manner of delectable things from tableware to tables, pieces from LFI’s Crate & Barrel collection, favourite books and art materials, it was the perfect playground for a group 20 budding stylists who signed up via Instagram bringing with them (as instructed) their own props; something from Nature - a branch, a shell, a stone- and manmade objects in different shapes and materials. Then the participants were able to add pieces from the store that attracted them- ceramics, vases, posters, glassware.
Our friend and collaborator photographer, Erin Kelly joined in to give us all her best tips for taking the the most successful iPhone pics, finding and working with the most beautiful light. (I have a whole Pinterest board devoted to what I call magic or emotional light).
Are there any rules? Let’s call them guidelines. Rules are for breaking! But here’s my recipe to get you started. And remember that this ‘recipe’ can be applied to bigger projects; a room, a house, a painting, a bookshelf. Really.
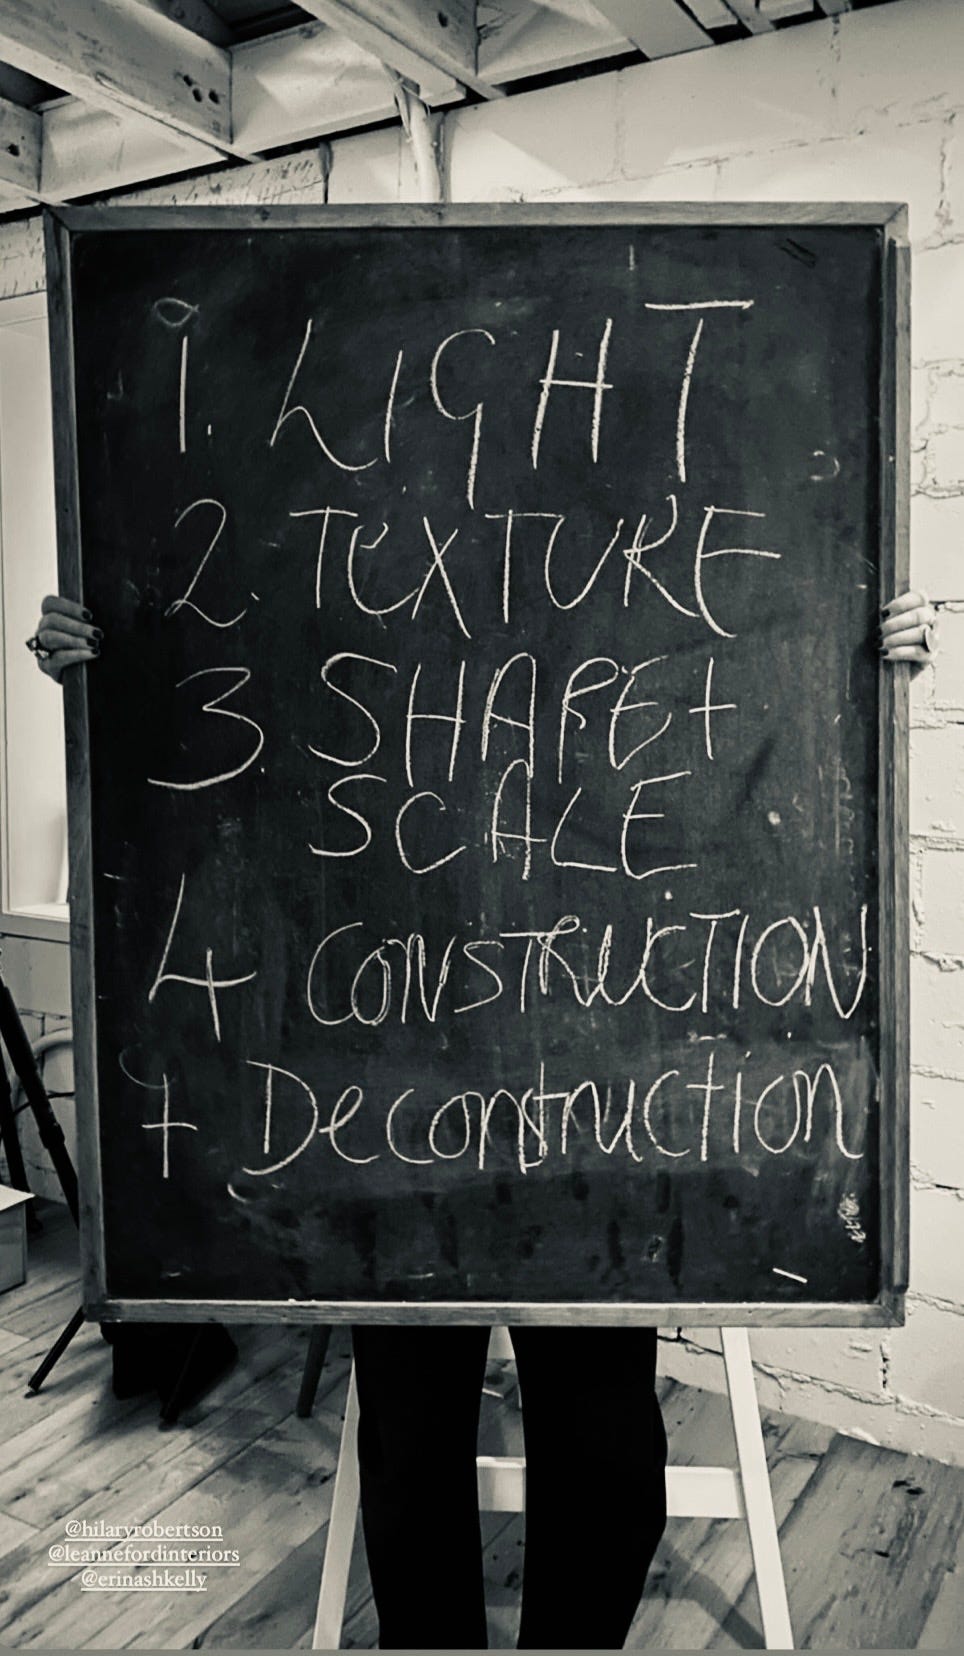
1. Ingredients
Use what you have…..
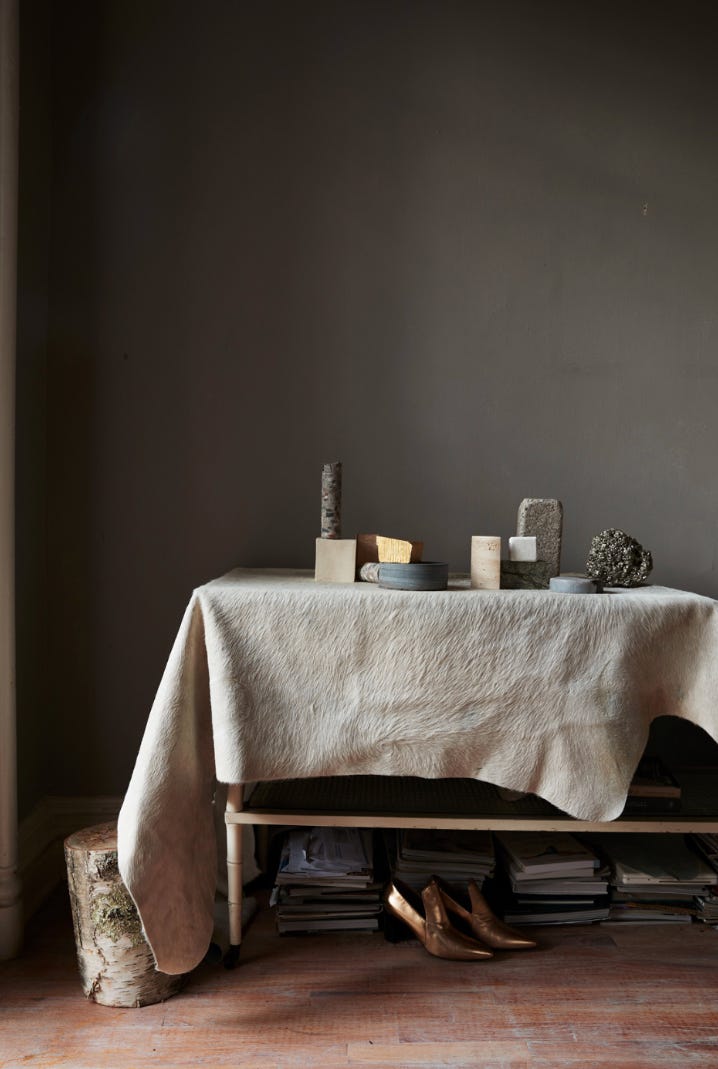
Something old, something new, something borrowed, something found works for me. Scour your yard or a local park for fallen branches or the beach for stones, a thrift store for vases, bottles, candlesticks. Don’t be afraid of adding something ‘ugly’.
You will need a surface and a background. Craft paper, a drop cloth, a cutting board, newspaper, a vintage tablecloth, marble scraps can all be employed as surfaces and backgrounds.
2. References
Gather your references- rip some magazines up, find those museum bought postcards you’ve been keeping in a drawer, any ephemera, string, handmade paper, fabric scraps. Make a mood board, find a color theme, or a painting to inspire you. Monochrome is a good way to begin. (Of course, I would say that!)
3. Daylight -
Notice it, capture it. By paying attention to fluctuations in daylight you’ll find the best spot in your space for your ‘set.' Here are Erin’s notes on photography-
Wipe off your iPhone lens. I prefer to use screen cleaning wipes when I'm capturing anything I want to turn out sharp and clear. In a bind, a quick wipe of your lens with your T shirt will do the trick just fine.
Set those camera settings. Turn on your gridlines, levelling and lens correction. Wonkiness is wonderful in the world of ceramics, but not interior photography. When you are framing up a shot, find your straight lines (a wall or shelf) and make sure they align with your grids. If you really want to make sure your lines are straight or you have a wonky image you want to straighten, Lightroom's photo editing app has a very good Auto geometry feature that straightens things right up.
Focus your exposures to the brightest part of your photograph NOT the darkest. The iPhone tends to overcorrect lighting and can leave images too bright with overwhelming highlights. Tap on the brightest part of your composition (for example, direct sunlight is hitting a wall) and then allow the iPhone to adjust lighting darker so that you can see the detail in the brightest spot. You can always lighten darker areas in an editing app after the fact.
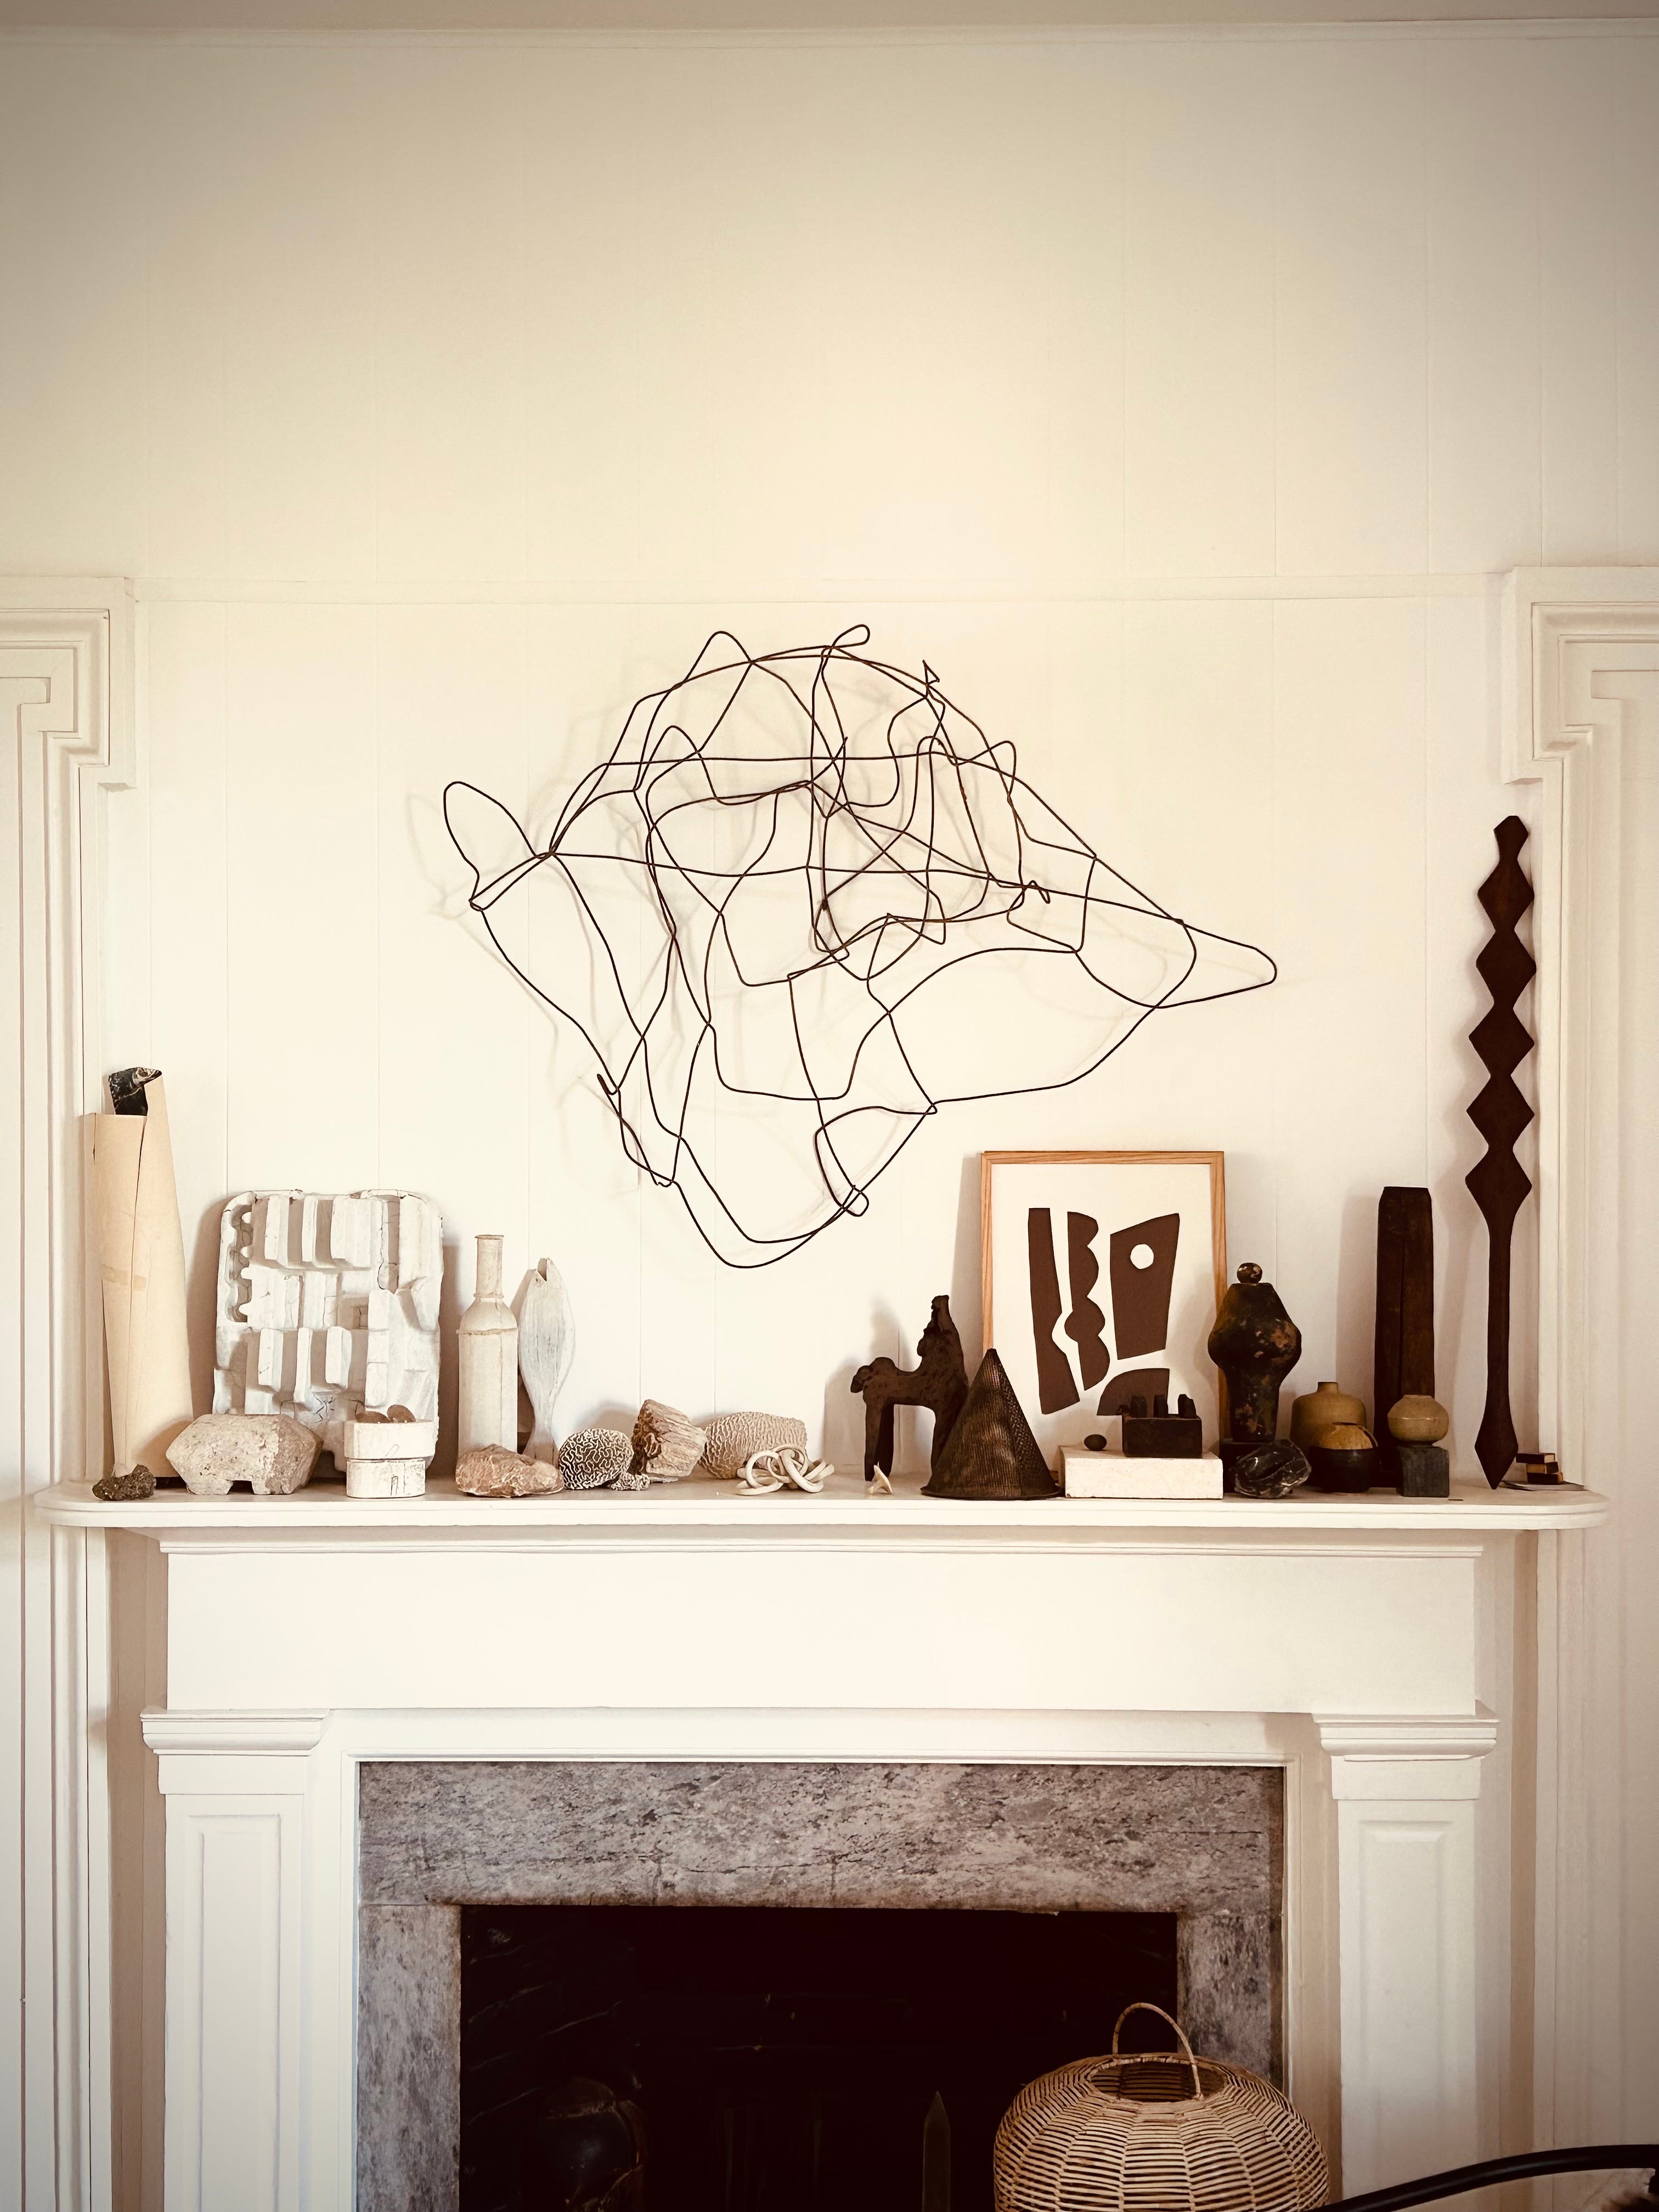
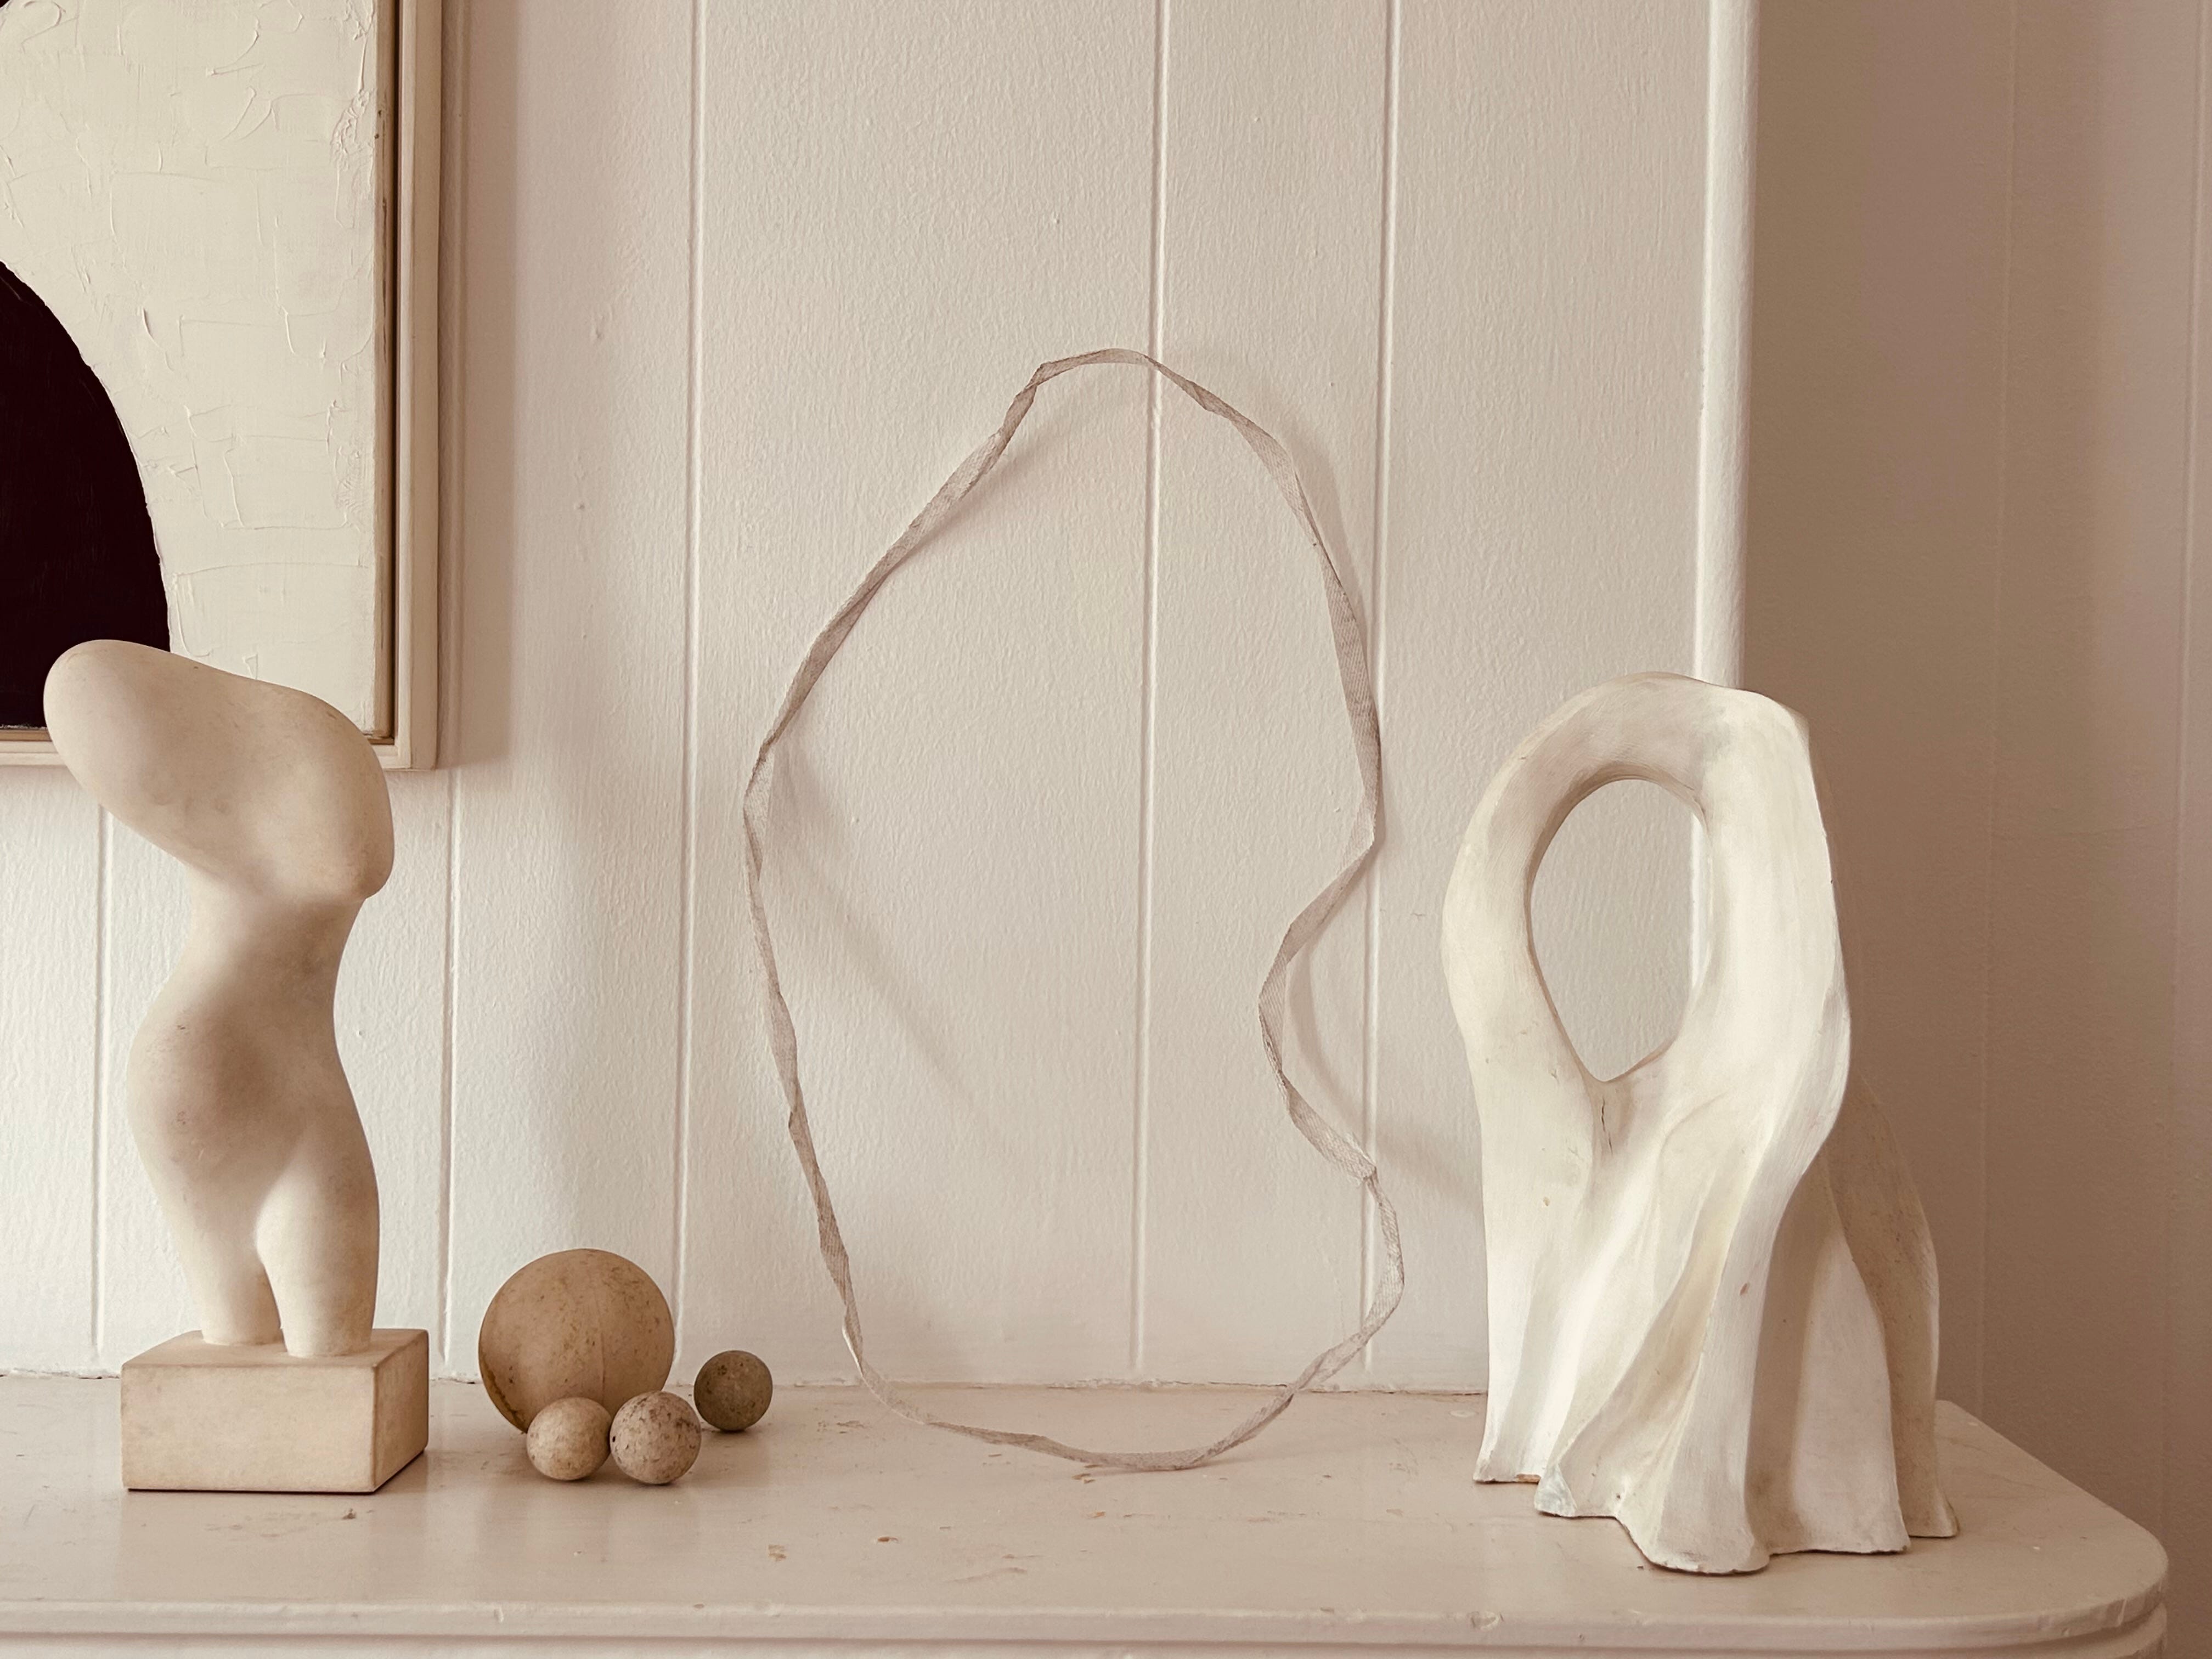
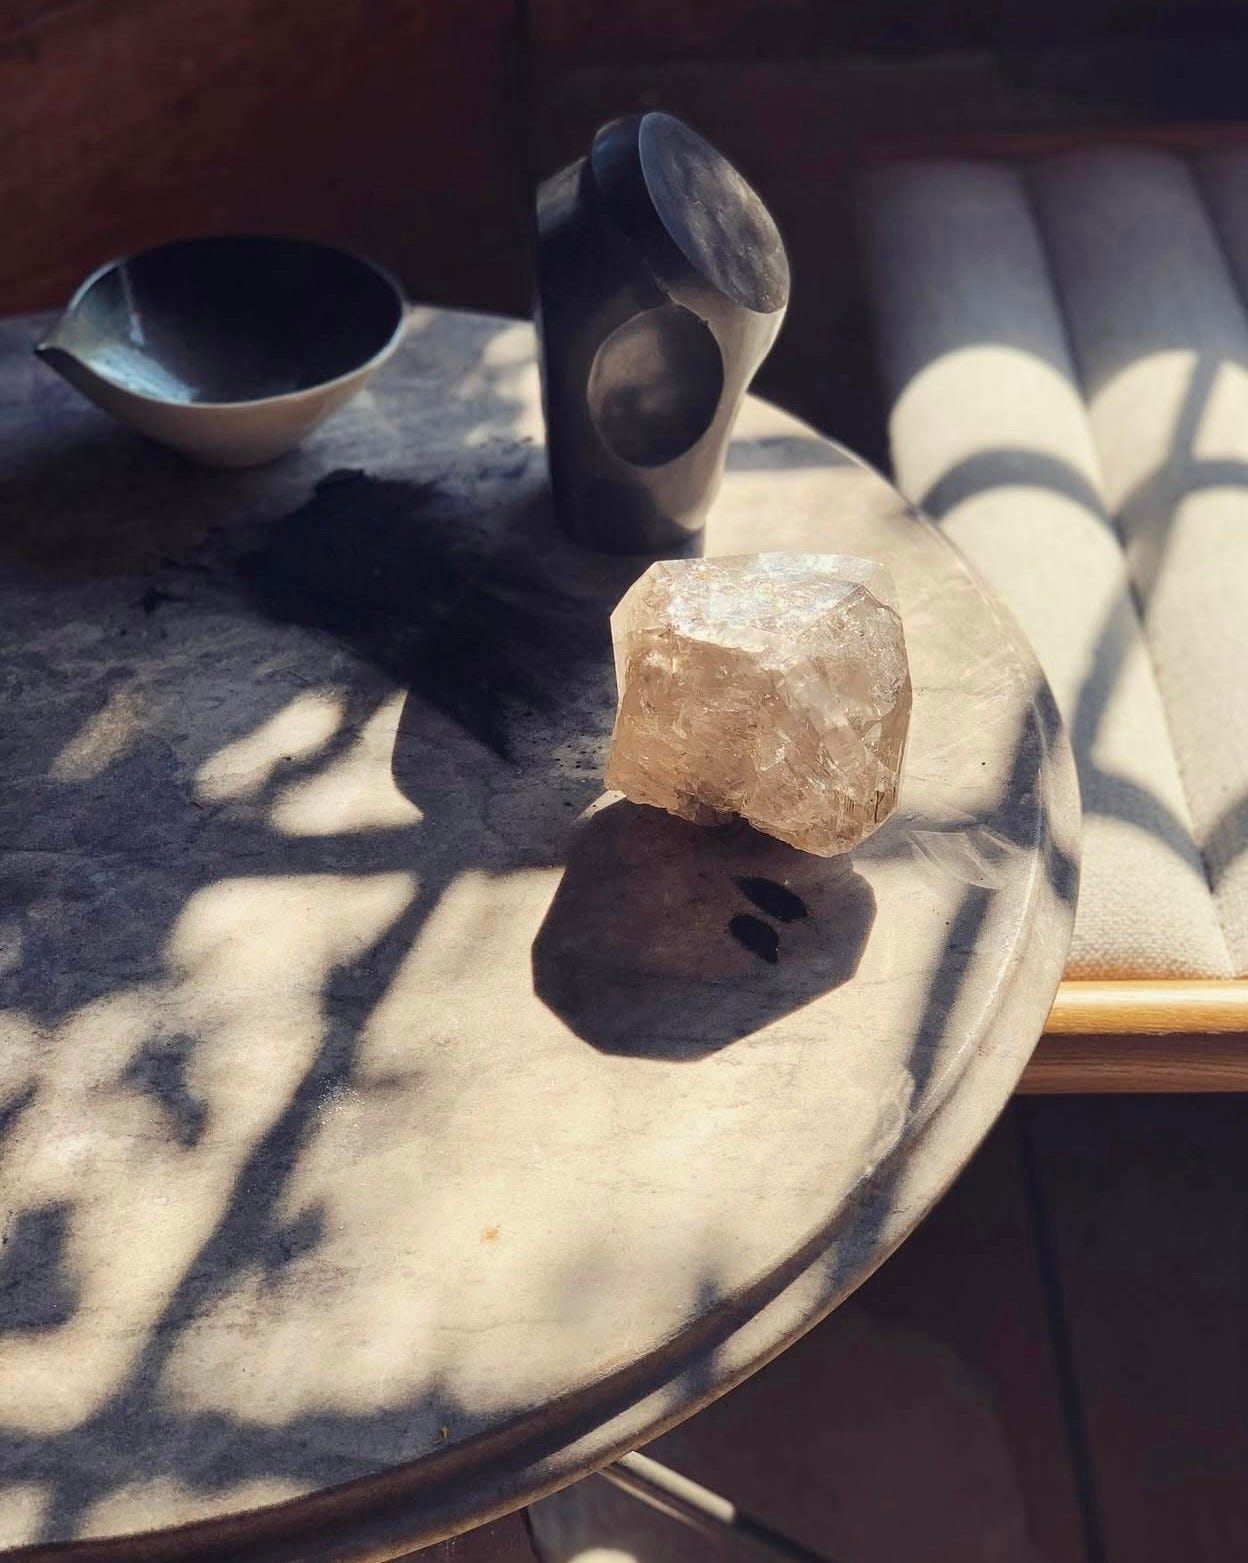
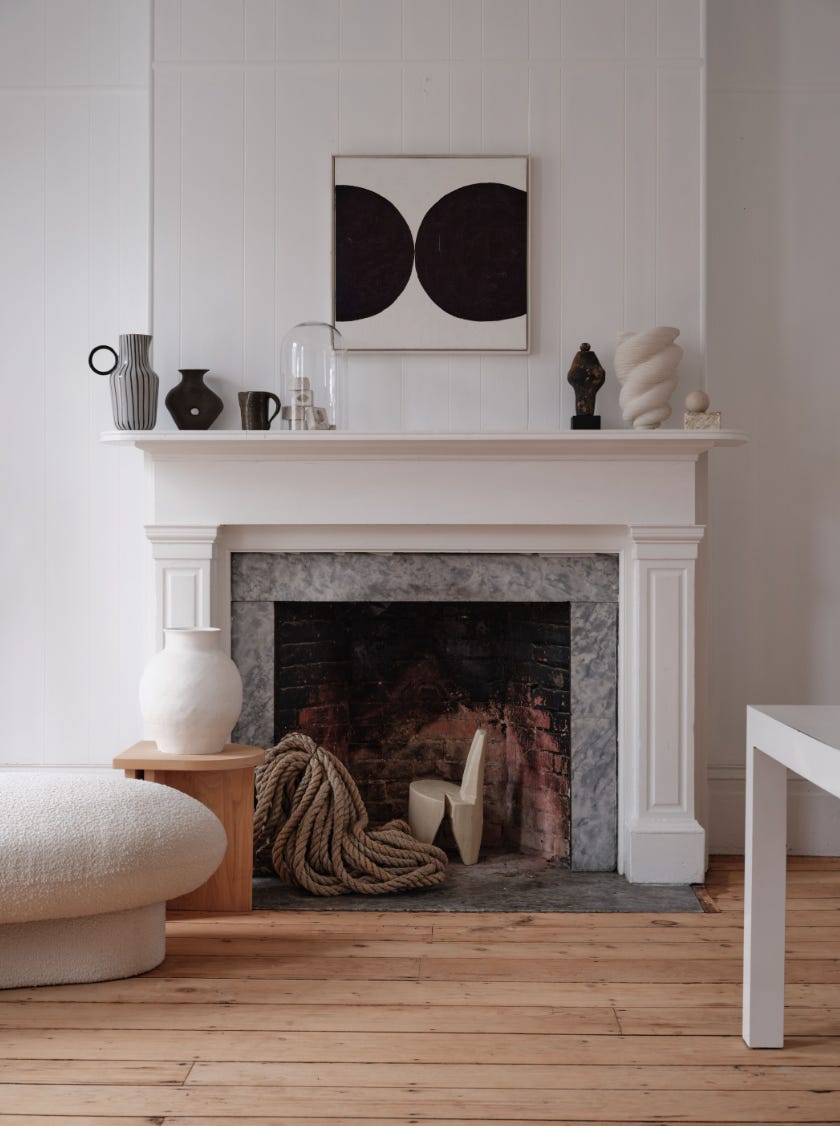
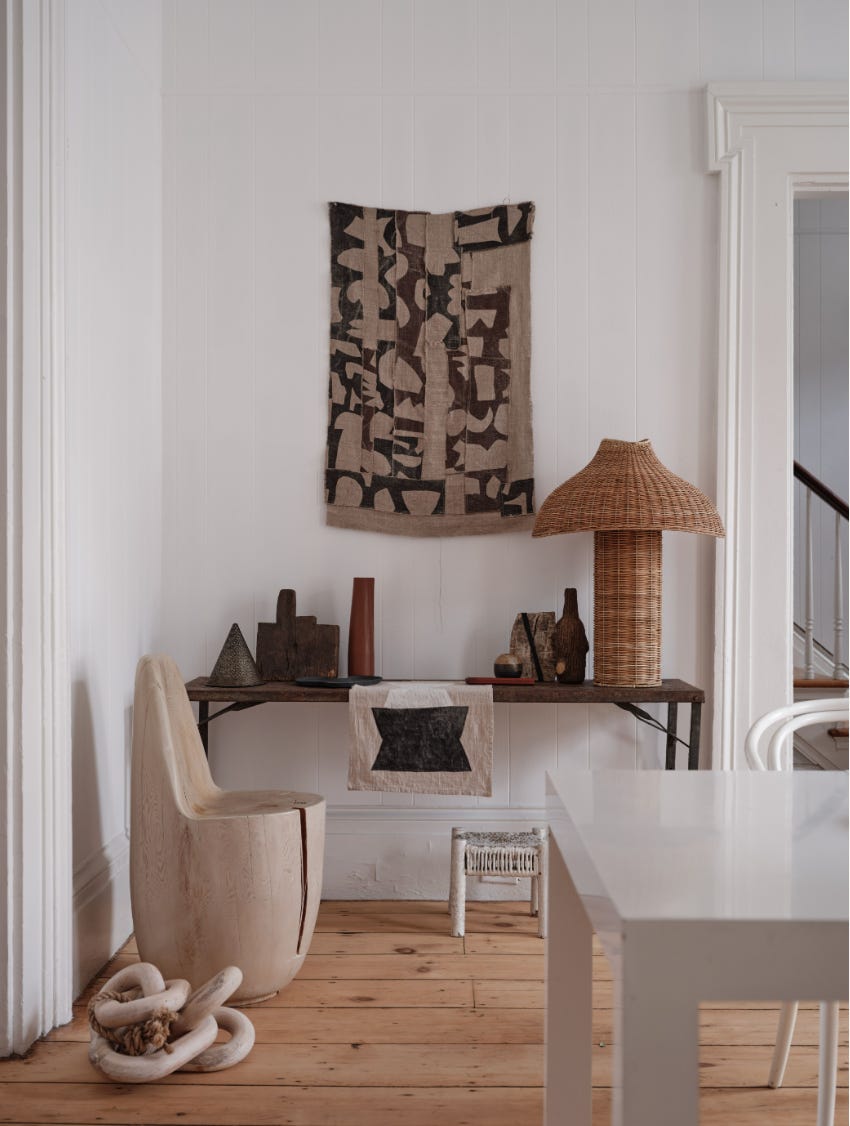
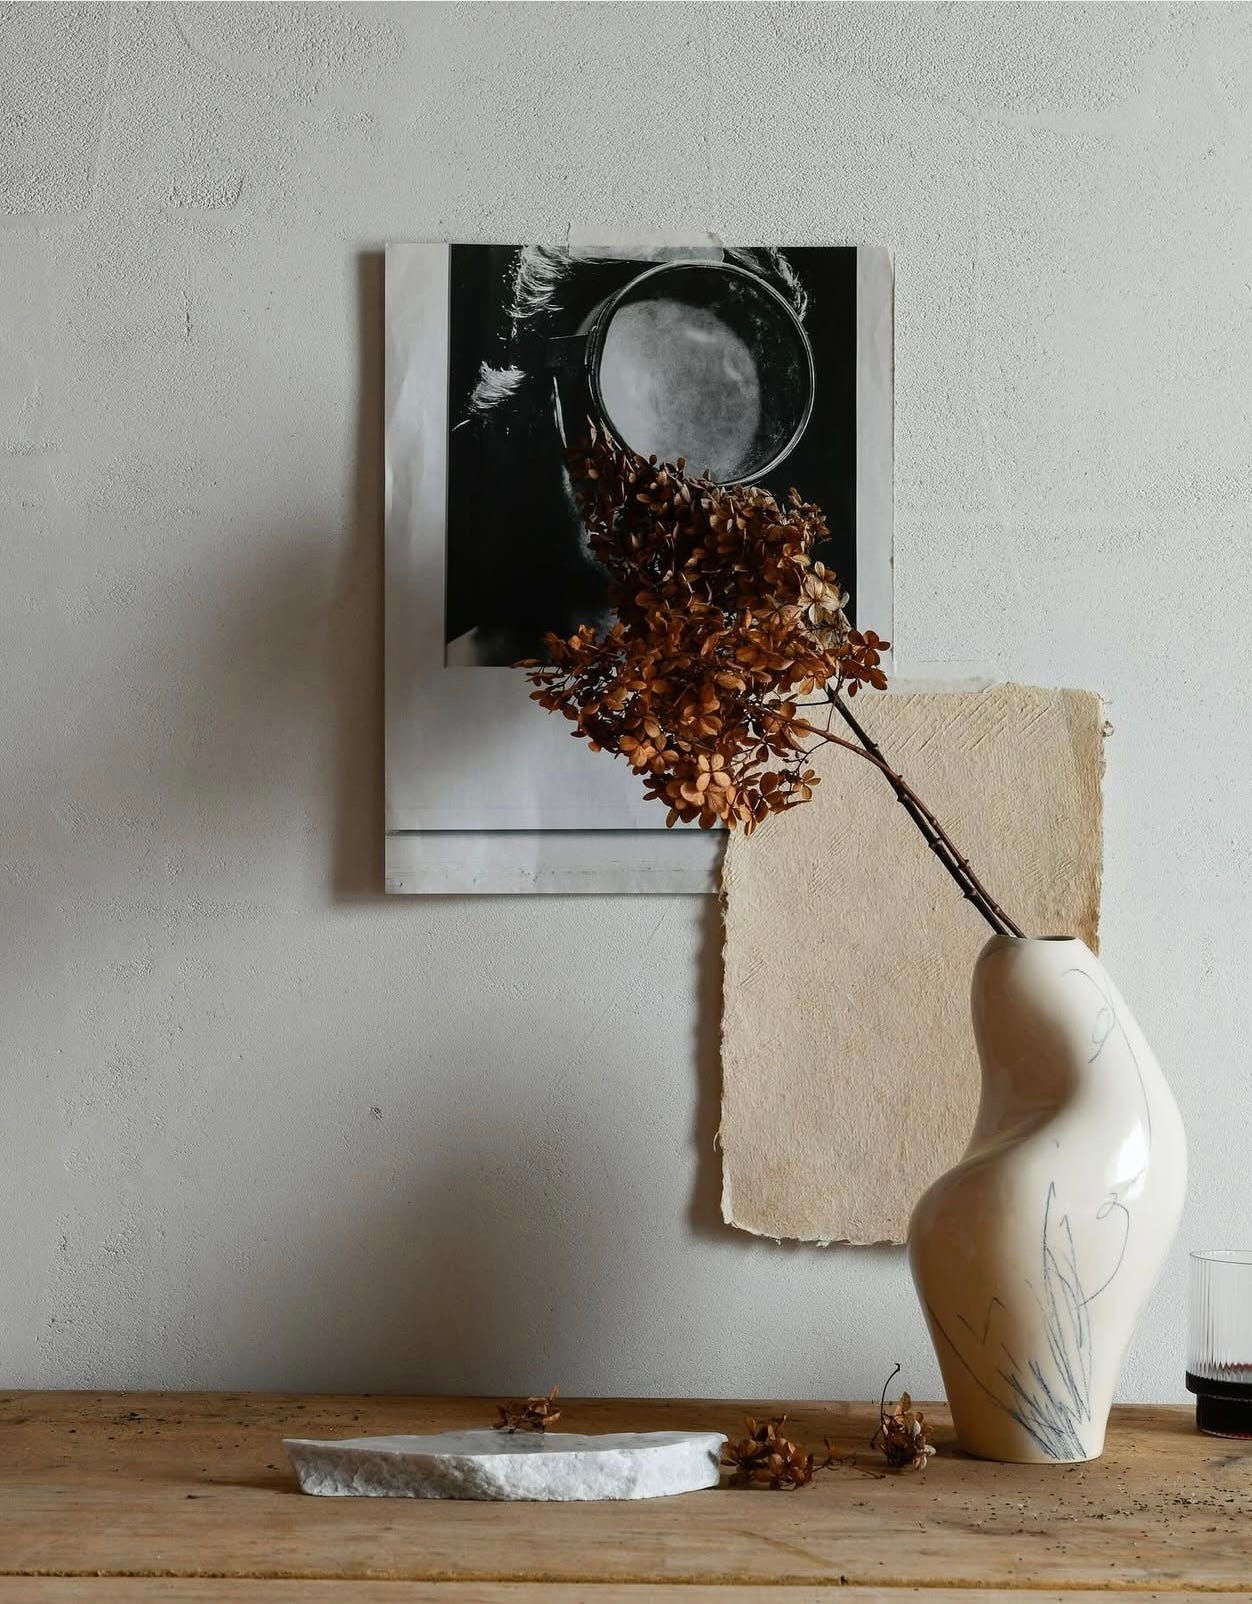
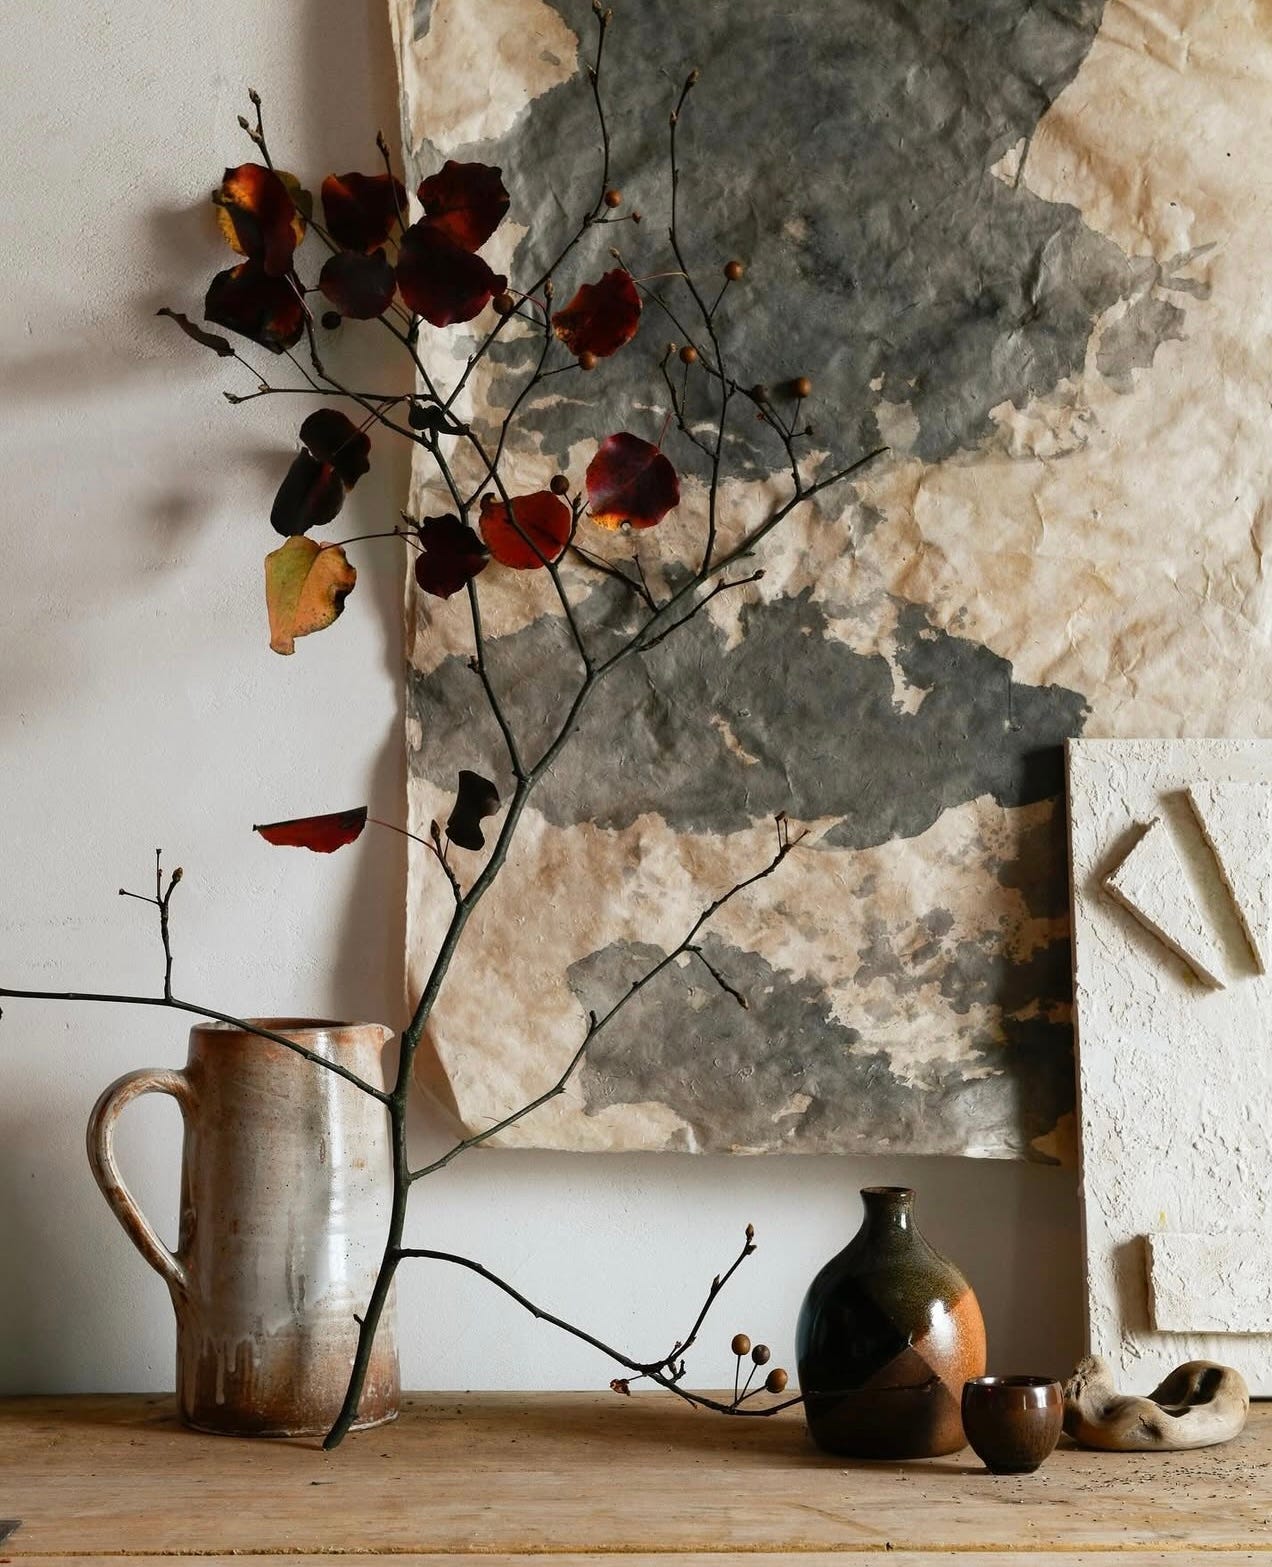
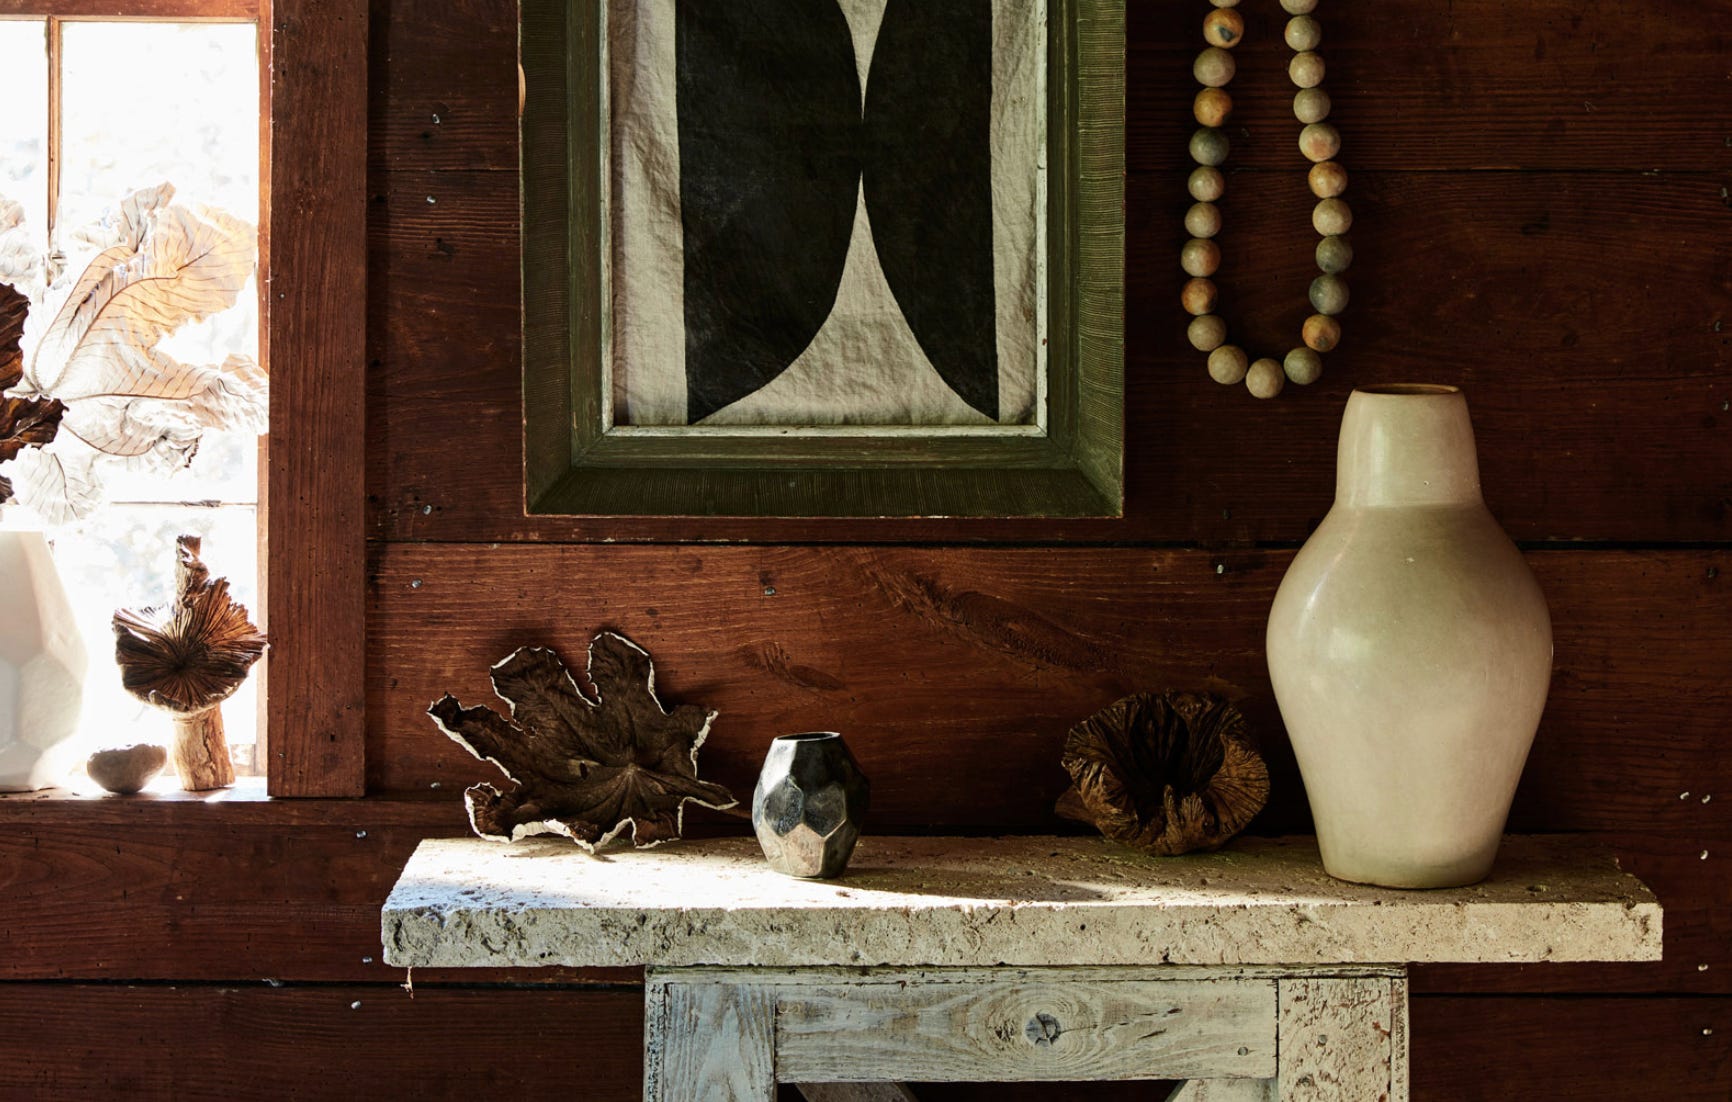
4. Texture - It’s all about The Mix. Think of combining contrasting textures; clay, glass, paper, metal, stone, marble; rough with smooth, matte with shiny. See how the daylight interacts with the various materials.
5. Shape & Scale
I think of my still life as a sculpture which will look interesting from every point of view. The collection of objects becomes more than the sum of its parts, each piece relating to the others in the hierarchy but simultaneously part of a whole. I often compose a shape that approximates a triangle, so that the eye has to travel from bottom corner to the highest point and then down again. For minimalists- consider how a shadow of your objects/object might become part of the composition. Light is the magic sauce especially for a minimal still life.
6. Construction
Remember to allow some negative space in your composition, consider how the shapes interact with each other. Try out different points of view- pulled back and giving space around the composition or tighter, choosing to focus on layers interacting with each other.
Don’t be afraid to use objects as you might children’s building blocks - stack them like an amateur Brancusi. Make new shapes out of your ingredients.
5. Deconstruction
When I have ‘finished’ an arrangement, I try to find more beauty as I deconstruct it.
Unconscious or less considered compositions are often the most pleasing. Chance finds new relationships between objects that I may never have tried.
Let me know if you are interested in joining my next class!
And here’s a link to my newly reissued Inside Stories